


How to Build a Wooden Pallet Adirondack Chair Step-by-Step Tutorial
How to Make Adirondack Chairs: A Fun DIY Project for Middle Schoolers
Introduction
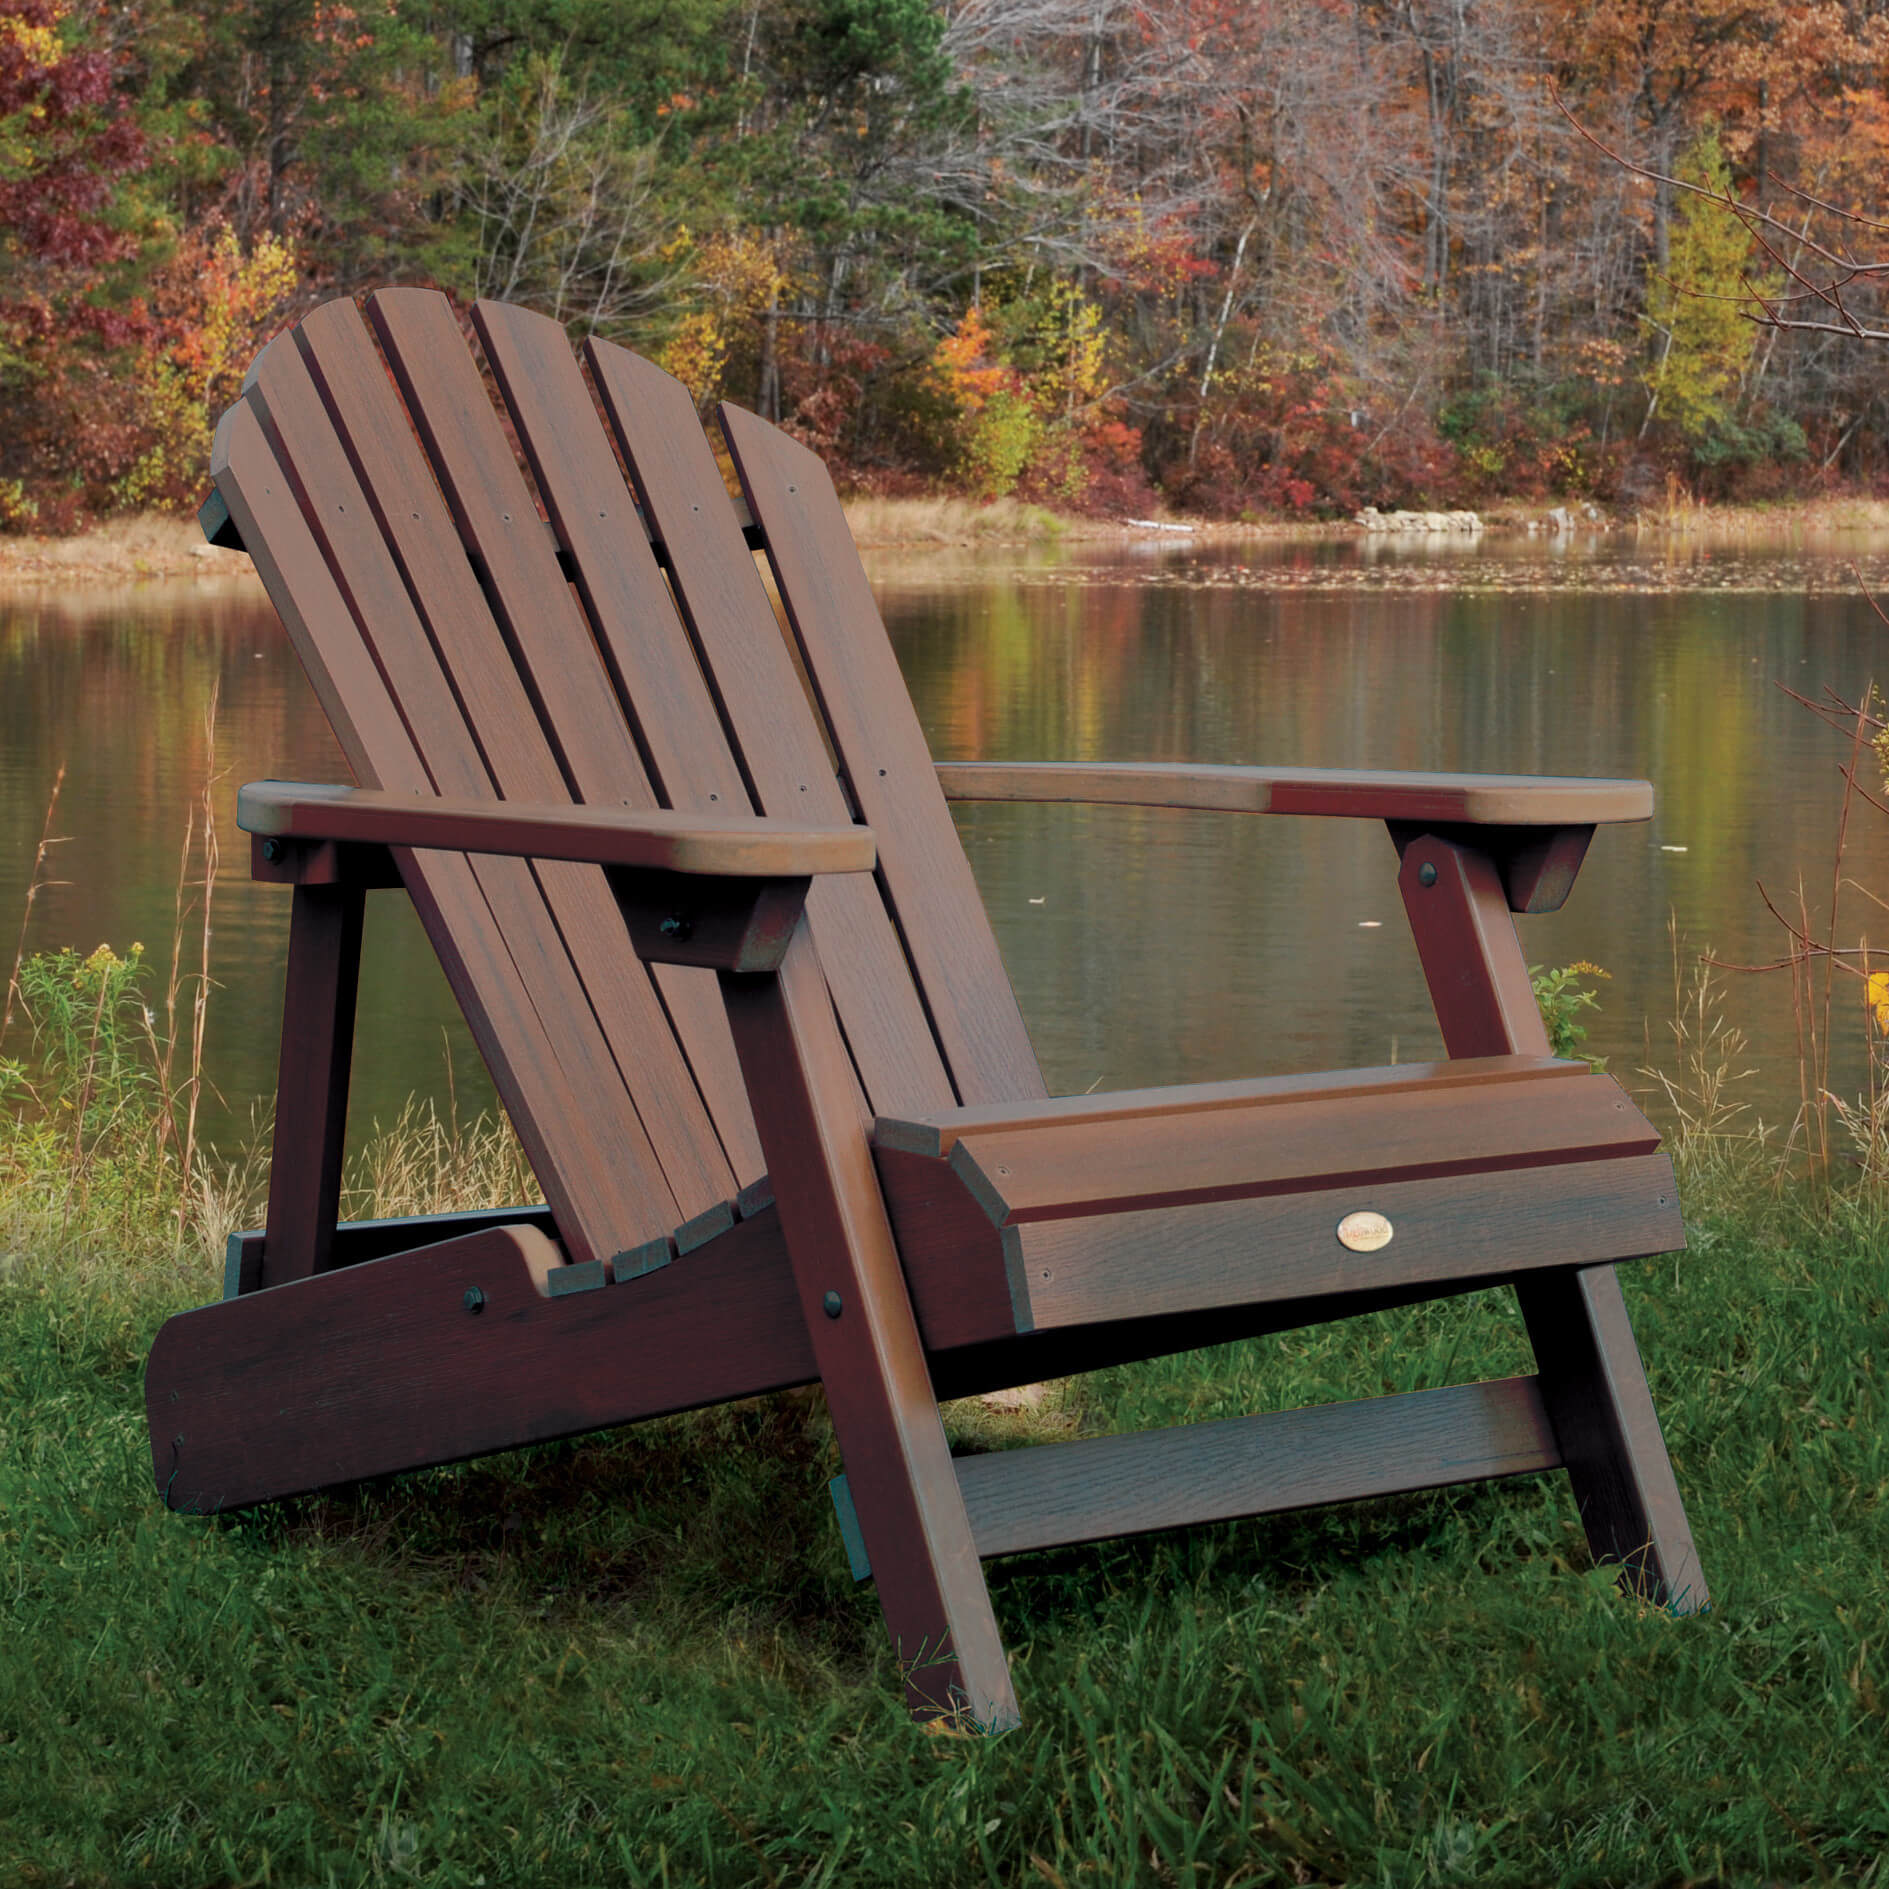
Hey there, middle schoolers! Are you ready to get your hands dirty and create something awesome? Today, we're going to learn how to make Adirondack chairs. These chairs are super cool and perfect for relaxing in your backyard or even at the beach. So, let's dive right in and have some fun!
Gather Your Materials
What You'll Need:
- 4 pieces of wood (about 1 inch thick and 6 feet long) - A saw (ask an adult for help) - Sandpaper - Screws - A screwdriver - Paint or stain (optional) - Paintbrush (if you choose to paint) - A measuring tape - Safety goggles - A pencil
Step-by-Step Instructions
Step 1: Safety First!
Before we start, it's important to put on your safety goggles to protect your eyes. Safety always comes first!
Step 2: Measure and Mark
Take one of your wood pieces and measure 12 inches from one end. Use your pencil to make a mark at that point. Repeat this process on all four pieces of wood.
Step 3: Cut the Wood
Now, it's time to cut the wood. Ask an adult for help with this step. Using the saw, carefully cut along the marks you made on each piece of wood. You should end up with four 12-inch pieces.
Step 4: Sand the Edges
Grab your sandpaper and smooth out any rough edges on the cut pieces of wood. This will make your chairs more comfortable to sit in.
Step 5: Assemble the Chair
Lay two of the 12-inch pieces of wood on the ground, parallel to each other, about 20 inches apart. These will be the chair's back legs. Take another piece of wood and place it horizontally across the top ends of the back legs. This will be the chair's backrest. Use screws and a screwdriver to attach the backrest to the back legs. Repeat this process for the front legs and attach another piece of wood as the seat.
Step 6: Finishing Touches
If you want to add some color to your chairs, now is the time! Grab your paint or stain and apply it to the wood. Remember to let it dry completely before using your chairs.
Conclusion
Congratulations, middle schoolers! You've just learned how to make your very own Adirondack chairs. Now, invite your friends over, sit back, and relax in style. You should be proud of your hard work and creativity. Keep exploring new DIY projects and have fun making things with your own two hands!


No comments:
Post a Comment